
Everyone loves berries. And for good reason! They’re packed with flavor and nutrients while being low in calories. Whether you prefer the sweet and classic taste of strawberries, delicate blackberries or deliciously tangy raspberries — finding a berry after your own heart is a breeze. But sadly, their high water and natural sugar content makes them a prime target for fungus and mold. Simply put, these little juicy bursts of flavor spoil quickly.
But if you are a berry lover — worry not. Here are 5 easy and practical ways to tackle berries going bad.
1. Store Your Berries the Smart Way
Why do berries go bad so fast? Keeping them fresh is tricky because they have a sneaky way of soaking up any excess water in their environment. And forget about just washing and placing them in your fridge — unless you enjoy biting into a mold and mushy piece of fruit.
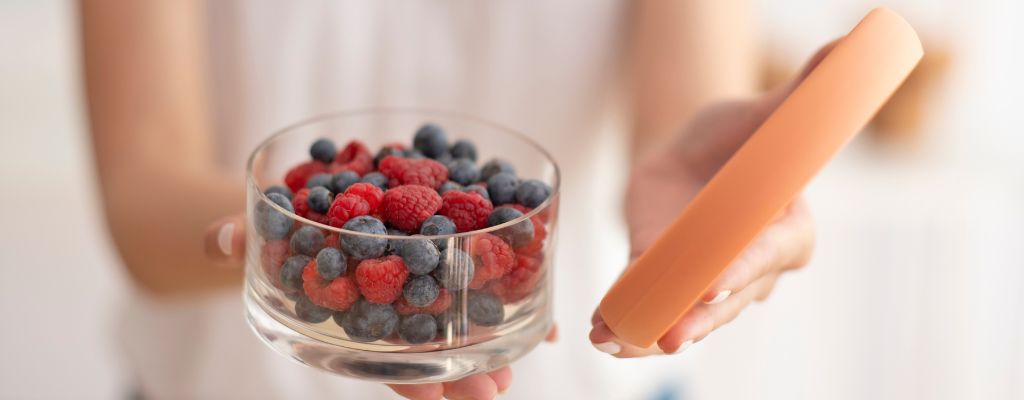
How to stop berries from molding and prolong their shelf life? An easy way is to give them a quick vinegar wash. Combine 1 cup of vinegar with 3 cups of water in a bowl. Then place your berries in the bowl and let them soak up for a couple of minutes. Next, rinse them well to eliminate the vinegar smell (and flavor) and dry them thoroughly. Remember, moisture is the enemy! Lastly, place them into a bowl lined up with a cloth, close the lid (we suggest one of our signature Food Huggers Bowl Lids) and put it in a fridge.
Alternatively, store your berries using our eco friendly kitchen tools, like Hugger Bag, a Mason jar or a drinking glass and just pop a Food Hugger on it.

2. Use ‘Em Up
The second most obvious way to avoid berries going bad? Put their fruity deliciousness to good use before they go bad! Luckily, there’s no shortage of tasty and creative ways to use those berries close to expiring.
Here are our top 10 picks:
3. Dry Your Berries (in a Dehydrator or Oven)

4. Freeze Your Berries
Pro Tip: Our Co-founder Adrienne loves to prepare fresh strawberries with some brown sugar, balsamic vinegar, a grind or two of black pepper and a tiny bit of vanilla. Let things sit for a few hours before freezing and then you have a fantastic dessert to serve over ice cream whenever you need it.
5. You 'Can'-Do It!
This old-school method of preserving food is a big step toward a zero waste lifestyle. It:
- Saves energy
- Reduces food waste at home
- Cuts down on packaging waste
- Minimizes your dependency on commercially produced foods
Never canned your food before? No reason to be intimidated! Let us walk you through the basic steps of home canning:
- Wash the berries in cold water. Remove any stems or leaves.
- Sterilize the canning jars and lids by boiling them in a large pot of water for 10 minutes. Keep them hot in the water until it's time to use them.
- If you have a sweet tooth, feel free to add sugar or another natural sweetener to the berries to taste.
- Add lemon juice — an all-natural preservative — to the berries to help preserve their color and flavor.
- Fill the jars with the berries, leaving about 1/2 inch of headspace at the top.
- Wipe the rims of the jars clean and place the lids on top, screwing the bands on until they are finger-tight.
- Place the filled jars in a canner or large pot with a rack on the bottom. Make sure the jars are covered by at least 1 inch of water. Bring the water to a boil and process for 10-20 minutes, depending on the type of berries you are canning.
- Remove the jars from the canner and let them cool on a towel.
The lids should seal within a few minutes, making a popping sound.
Test the seal by pressing on the center of the lid. If it does not move, the jar is sealed. If it pops back and forth, it is not sealed and should be refrigerated and eaten within a few days.
For more information, see the USDA’s Complete Guide to Home Canning.
Benefits of Wasting Less
The environmental benefits of wasting less food – including berries going bad – can not be overstated.
Less food waste means less methane from landfills, reduced carbon footprint, less water and air pollution and better protection of biodiversity.
Economical benefits are also important. By keeping your food out of the trash, you’re lowering your household bills and keeping more money in your pocket. On a larger scale, you help save precious resources like water, energy and land from being wasted in large-scale food production.
If You Loved It, Pin or Share It!
We hope you found this article useful! Got a Pinterest board this article would be great for? Let’s make that perfect pin-pin situation happen.
Or be berry brave and give it a share — your friends and family will thank you.